Step 1: Downloading wolfSSL (GitHub or Stable Release)
If using GitHub console for Windows:
cd C:\Users\<your username>\Desktop
git clone https://github.com/wolfSSL/wolfssl.git
OR just download a distribution from our website (wolfssl.com ? Download)
Step 2: Start Microsoft Visual Studio
- In Visual Studio, go to “File ? Open Project”
- Navigate to the directory where you downloaded wolfSSL (“Desktop” above) and find the wolfssl directory, double click it.
- Scroll to the bottom and locate “wolfssl64.sln”
- Select the solution file and click “Open”
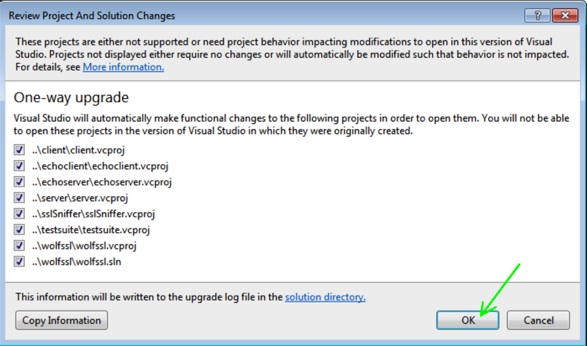
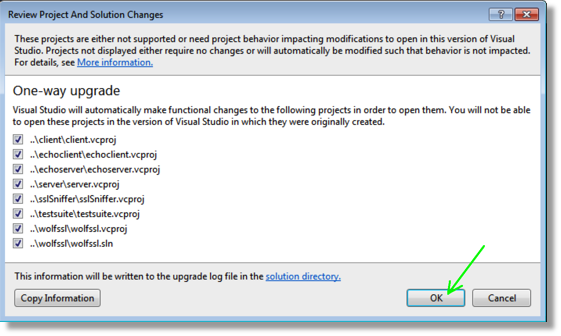
- A window titled “Review Project and Solution Changes” will pop up, click “OK”
Next a window will open asking if you would like to overwrite the property sheets. If using Visual Studio 2013 or later hit “Yes”. If using VS 2008 – 2012 you can opt to hit “No”. The only difference is you will see warnings if you overwrite the existing property sheet in regards to “SAFESEH” and “EDITANDCONTINUE”. They can be ignored.
- After this, a browser will open with information about the import that just took place. Review any changes you want and then close the browser window.
- Click “OK” at the dialogue in Visual studio.
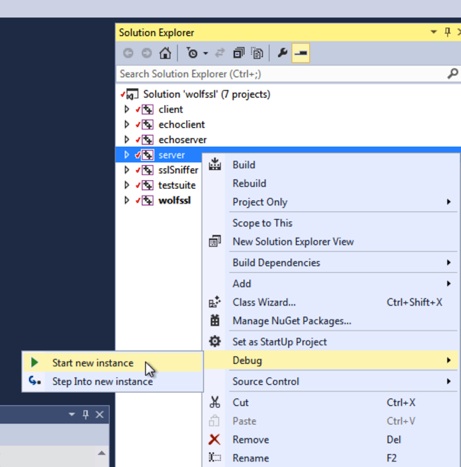
Step 3: In the “Solution Explorer Window” (View ? Solution Explorer)
- Right-click on “server”
- Scroll to “Debug” and select “Start New Instance”
- You will be prompted to Build, hit “Yes”
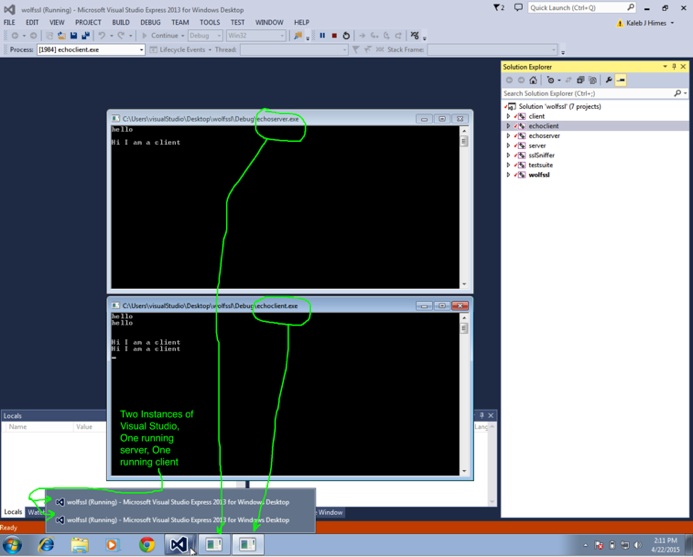
You should now see a black terminal window open with nothing in it. This is the server waiting for a client to send it a message.
Step 4: Open a second Visual Studio Instance from your start menu in Windows
Repeat the steps from above:
- “File ? Open Project”
- Locate wolfssl from your download location (ex: Desktop)
- Open wolfssl.sln
- Right-click the “client” this time, again select “Debug ? Start new instance”
You will see the client receive a message from the server and then both terminal windows will close.
Step 5: (Optional)
To see repeated SSL/TLS communication, right-click “echoserver” in one instance of VS, “Debug ? Start New Instance”
In the other Visual Studio instance right-click “echoclient” and “Debug ? Start New Instance”.
In the client terminal type a message and hit Enter. The echo server should “echo” the message back to you.
Type “quit” and hit enter to send the shutdown signal to the echoserver and both terminal windows will close.
The following has been tested in VS2012, VS2013, and most recently VS2015 Community Edition.
Step 1: Downloading wolfSSL (GitHub or Stable Release)
Follow the instructions as in Part 1 to obtain wolfSSL from GitHub or a stable release from the wolfSSL website.
Step 2: Start Microsoft Visual Studio
- Go to “File -> Open Project”
- Navigate to your download location (ex: Desktop) and find wolfssl directory, double click it.
- Scroll to the bottom and locate “wolfssl64.sln”
- Select it and click “Open”
- A window titled “Review Project and Solution Changes” will pop up, just click “OK”
Next You will see a window asking if you want to overwrite the project and its imported property sheets. DO NOT select yes. If you do, just delete the wolfssl directory on your desktop and start over by re-cloning, re-unzipping, or re-downloading the project from github.
Select No and check the “Do this for all similar cases…” box.
Review any changes you want and then close the browser window that opens.
Click “OK” on the dialogue in Visual studio.
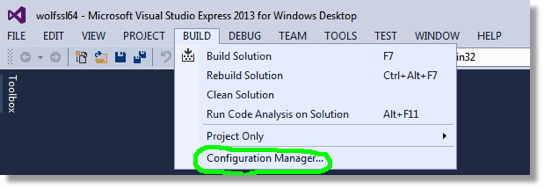
Step 3: In the “Solution Explorer Window” (Build -> Configuration Manager)
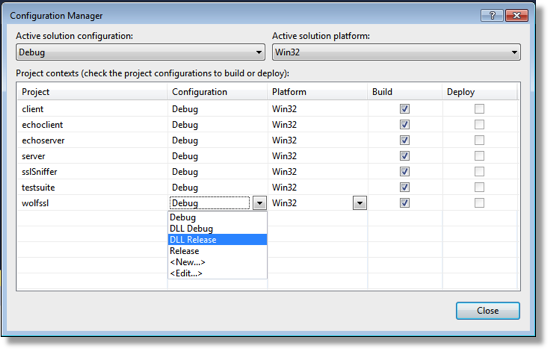
Select which projects you would like to generate a DLL for.
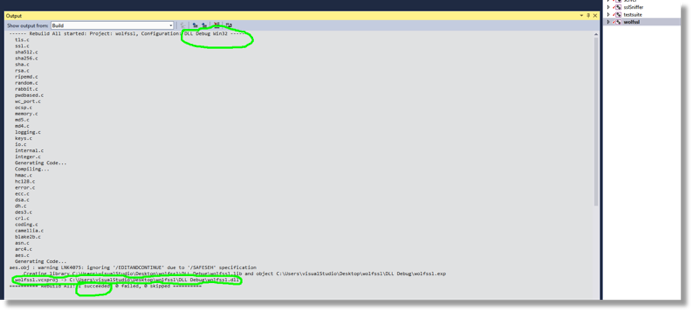
(Use “DLL Debug” for testing and switch to “DLL Release” after all testing is complete and final product is ready to ship)
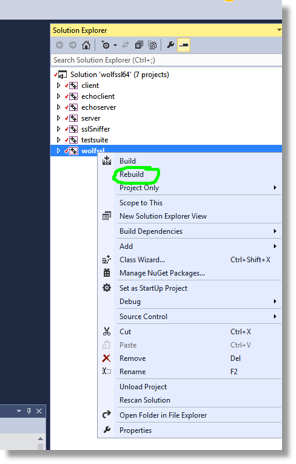
Step 4: Rebuild Each Project
NOTE: you cannot select “Rebuild All” as the sniffer has no DLL configuration settings so Rebuild All will fail
In the Solution Explorer right-click on the project you want to generate a DLL for and select “Rebuild”
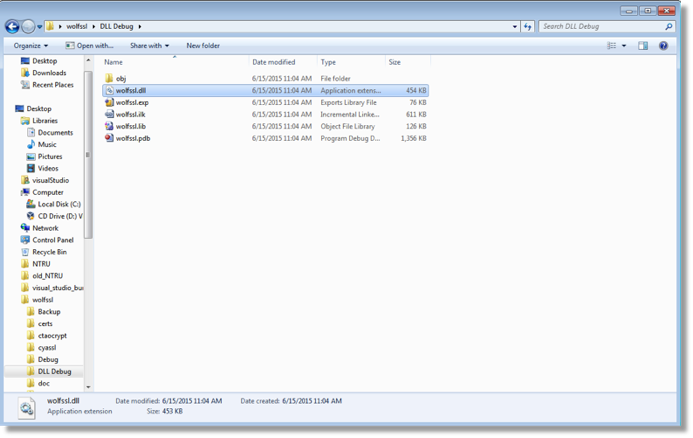
Step 5: Find your Newly Generated DLL in the file system